Print Smoothing: 101
Using 3D Gloop! you can achieve near plastic-injection molded surface finishes on your prints!
We're talking smooth as a baby's... Well, you know, right?
It’s pretty easy to do too! If you couldn't tell, we like simple at 3D Gloop!

Step 1! - Setup
Making beautifully smooth prints takes time, patience, and finesse.
First thing first, remember, 3D Gloop! is a solvent based product. As solvents evaporate they tend to fill rooms with strong odors quickly and can sometimes become overwhelming. Set up your finishing station in a well ventilated area. Please always be safe by using our product correctly.
Naturally, 3D Gloop is sticky... (Who would have thought and adhesive would be sticky?!) Cover your work space with a disposable covering such as paper, or cloth. DO NOT use 3D Gloop on a plastic work surface. You will not have a fun time...
Step 2! - Choose Your Fighter! & Fight!
Step 3 varies a little bit depending on the application method as 3D Gloop! is available in brush-on (continue to step 3B) and aerosol (continue to step 3A) forms.
Each method has its own benefits, while also having limitations. Neither method is perfect.
Step 3A! - Spray Gloop! (Glooped!)
This is by FAR the best method for smoothing. But before you get all excited, Spray Gloop! isn’t available quite yet! We just like to be a tease. 😉 You can find out more information about Spray Gloop! and when it is expected to be released at: https://glooped.com
Seriously, we recommend our Spray Gloop! to be used primarily in finishing applications as it is specially formulated to provide uniform and even coverage. - A little bit will go a very long way.
First shake the can for about 30 seconds.
While holding the nozzle roughly 8 inches away from your print, depress the cap, and keep the can moving.
Try your best to not spray too much in one area as this can result in runs and a poor finish.
Spray Gloop! dries pretty quickly, but it is best to wait several minutes before applying subsequent coats if necessary.
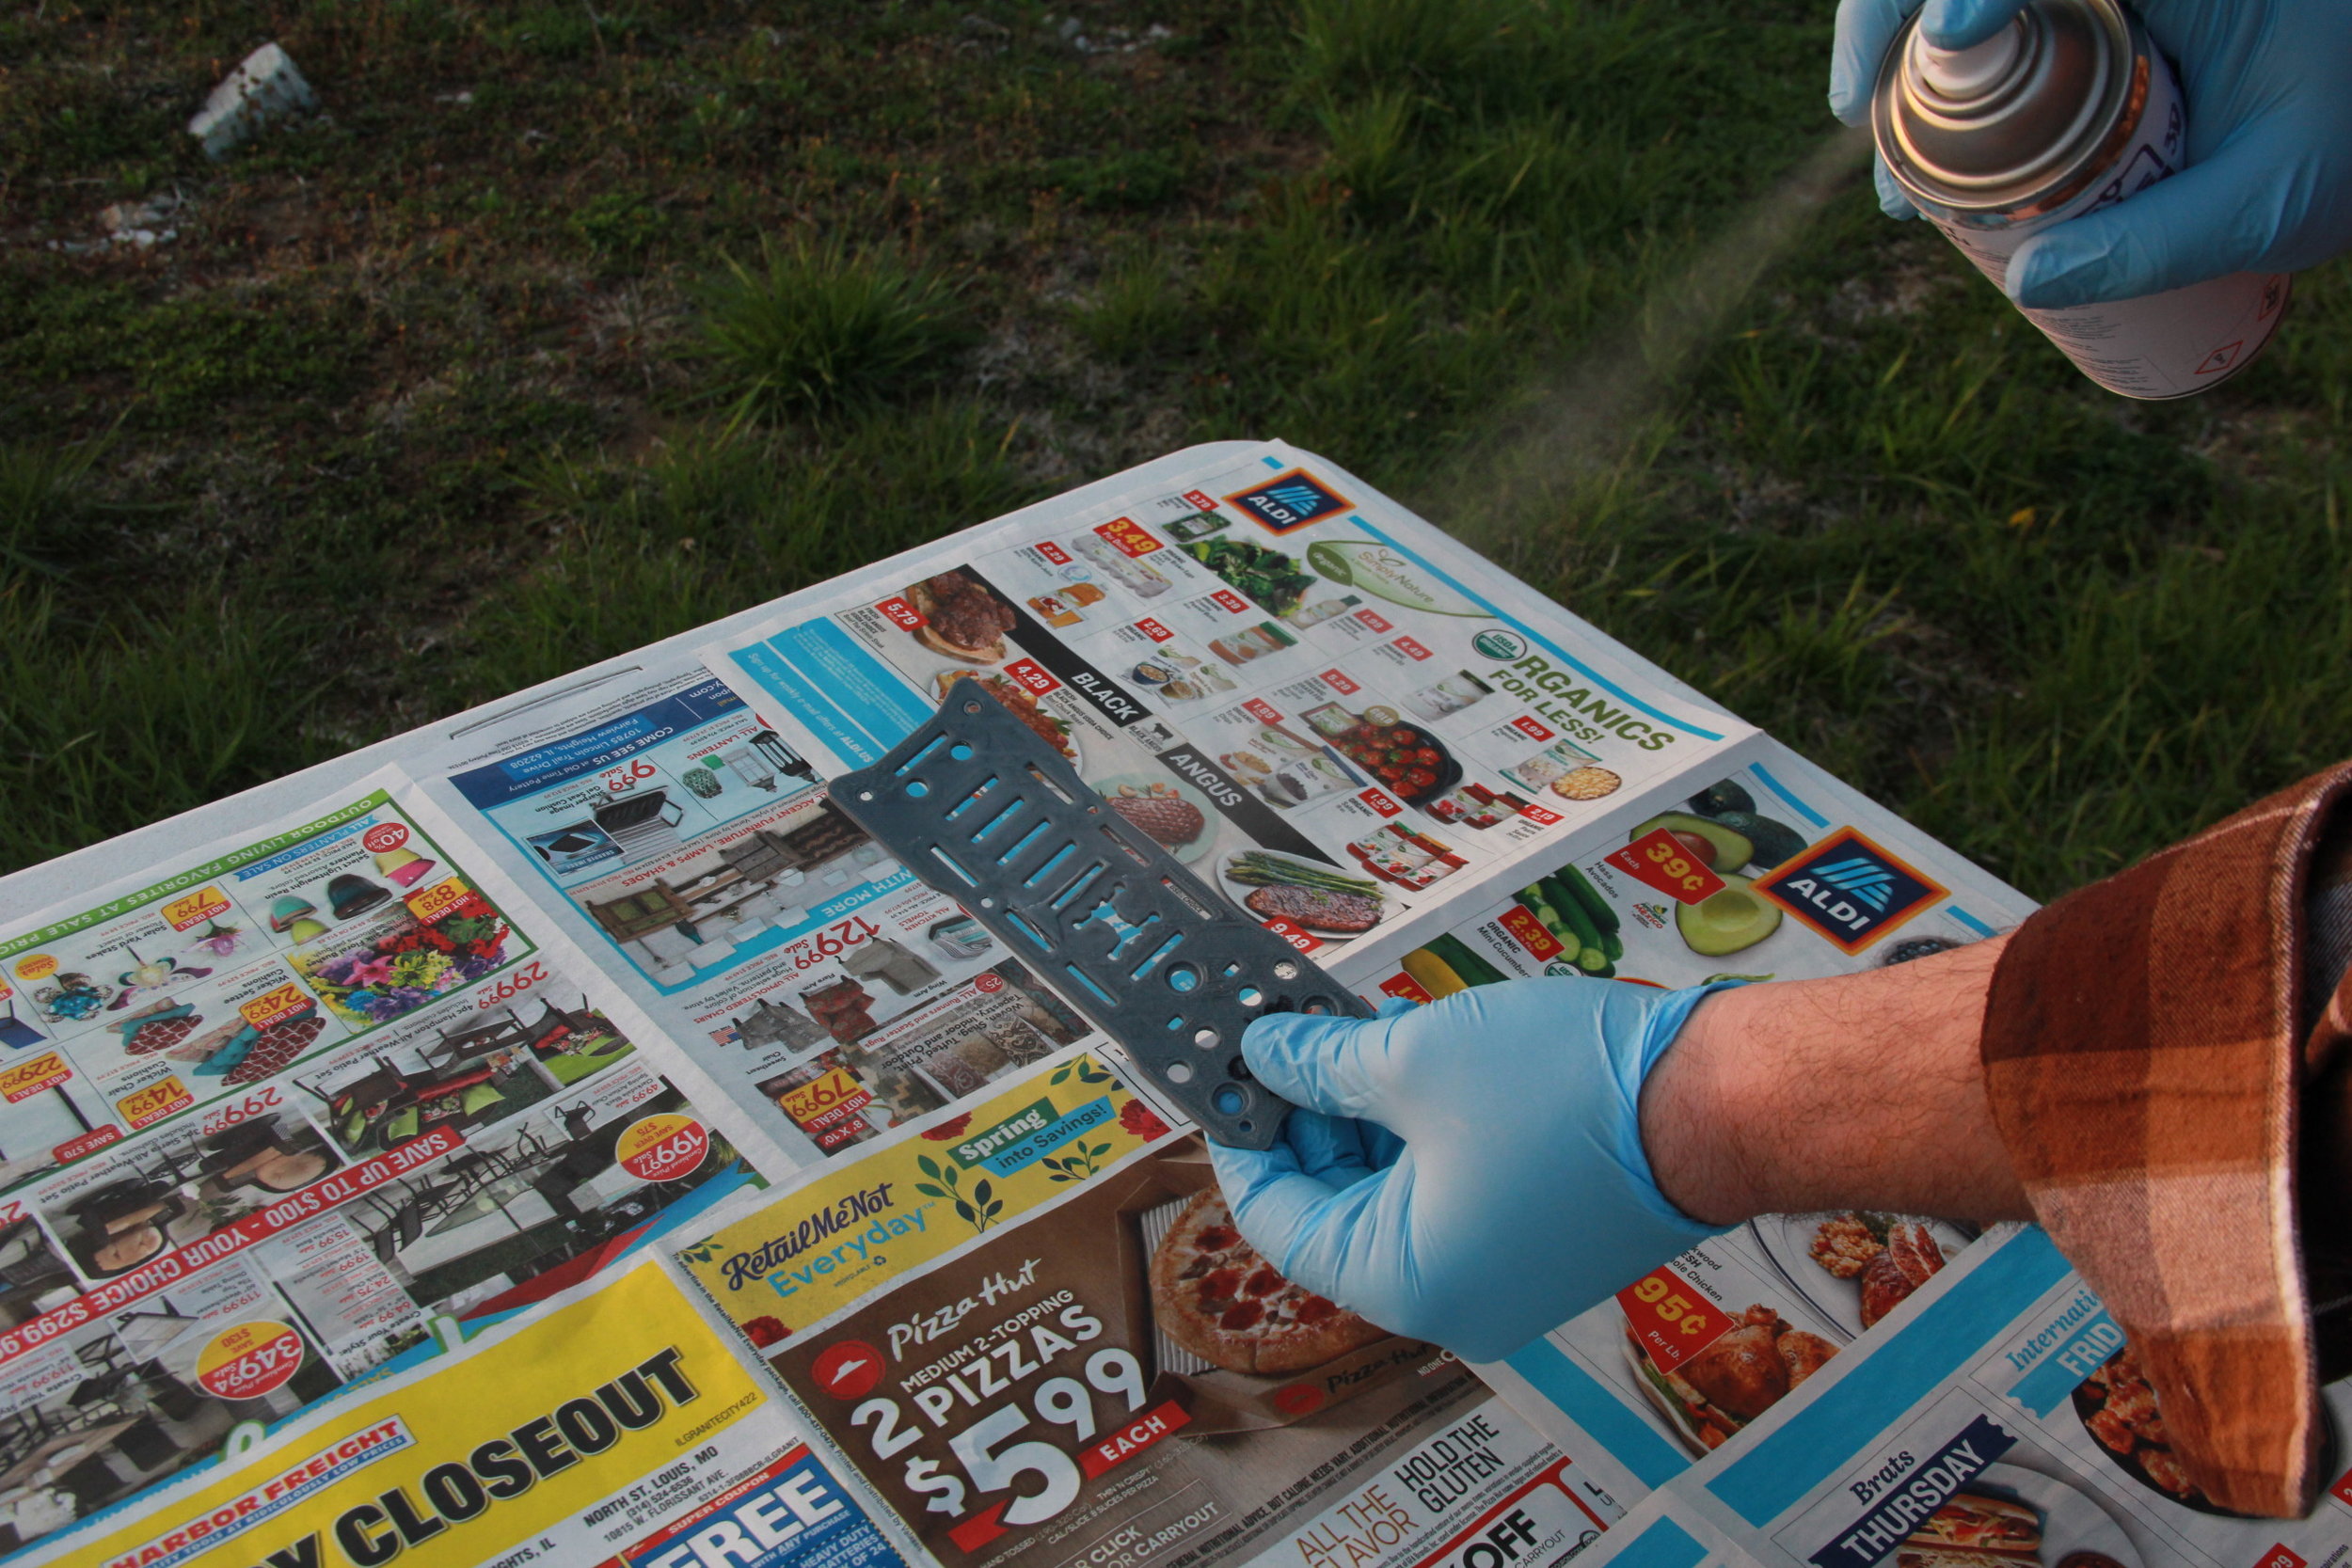
HELPFUL TIP: Once you are finished with Spray Gloop! it is best to purge the nozzle by holding the can of Spray Gloop! upside down, and depressing the cap until only clear gas emits from the nozzle.
Step 3B! - Brush On 3D Gloop!
For those out there who don't believe in the awesome power of aerosol that's fine...
Creating smooth prints with Brush-on 3D Gloop! is still possible! You may have a bit more post-smoothing work.
Fist, take your brush applicator out and make sure it is loaded up with Gloop!
Using long continuous brush strokes do your best to evenly distribute Gloop! across the surface of your print.
Keep the brush applicator wet with Gloop! as this helps spread and even out the coating. - Try not to re-coat an area that has already been Gloop!'ed as it may result in poor finish quality.

Overall, its pretty simple right? I mean not as simple as Spray Gloop! but it sure works!
HELPFUL TIP: Brushing-on 3D Gloop! can be tricky to master. Try brushing in a parallel direction with the layer lines of your 3D print. This will help level out brush strokes and make application a bit easier. Addionally, do your best not to apply Gloop! too thick, this will increase cure time and possibly result in a poor finish.

Step 4! - Hurry Up and WAIT!
I know, I know! No one likes waiting around. Especially when you are looking at an amazing work of art that is your 3D print right?!
Well, this step is critical and short cycling the cure time will only lead to poor results or one fugly 3D print...
Best thing to do here is go grab lunch, start and epic adventure, visit the moon, or just fast forward time until your print is cured and ready to go to step 5!
Curing times vary drastically. The longer you leave your print alone the better. A good rule of thumb is 1 hour for small prints and up to 3 for larger ones.
Not waiting long enough is sure to result in a poor finish and a frustrating experience. Totally not cool!
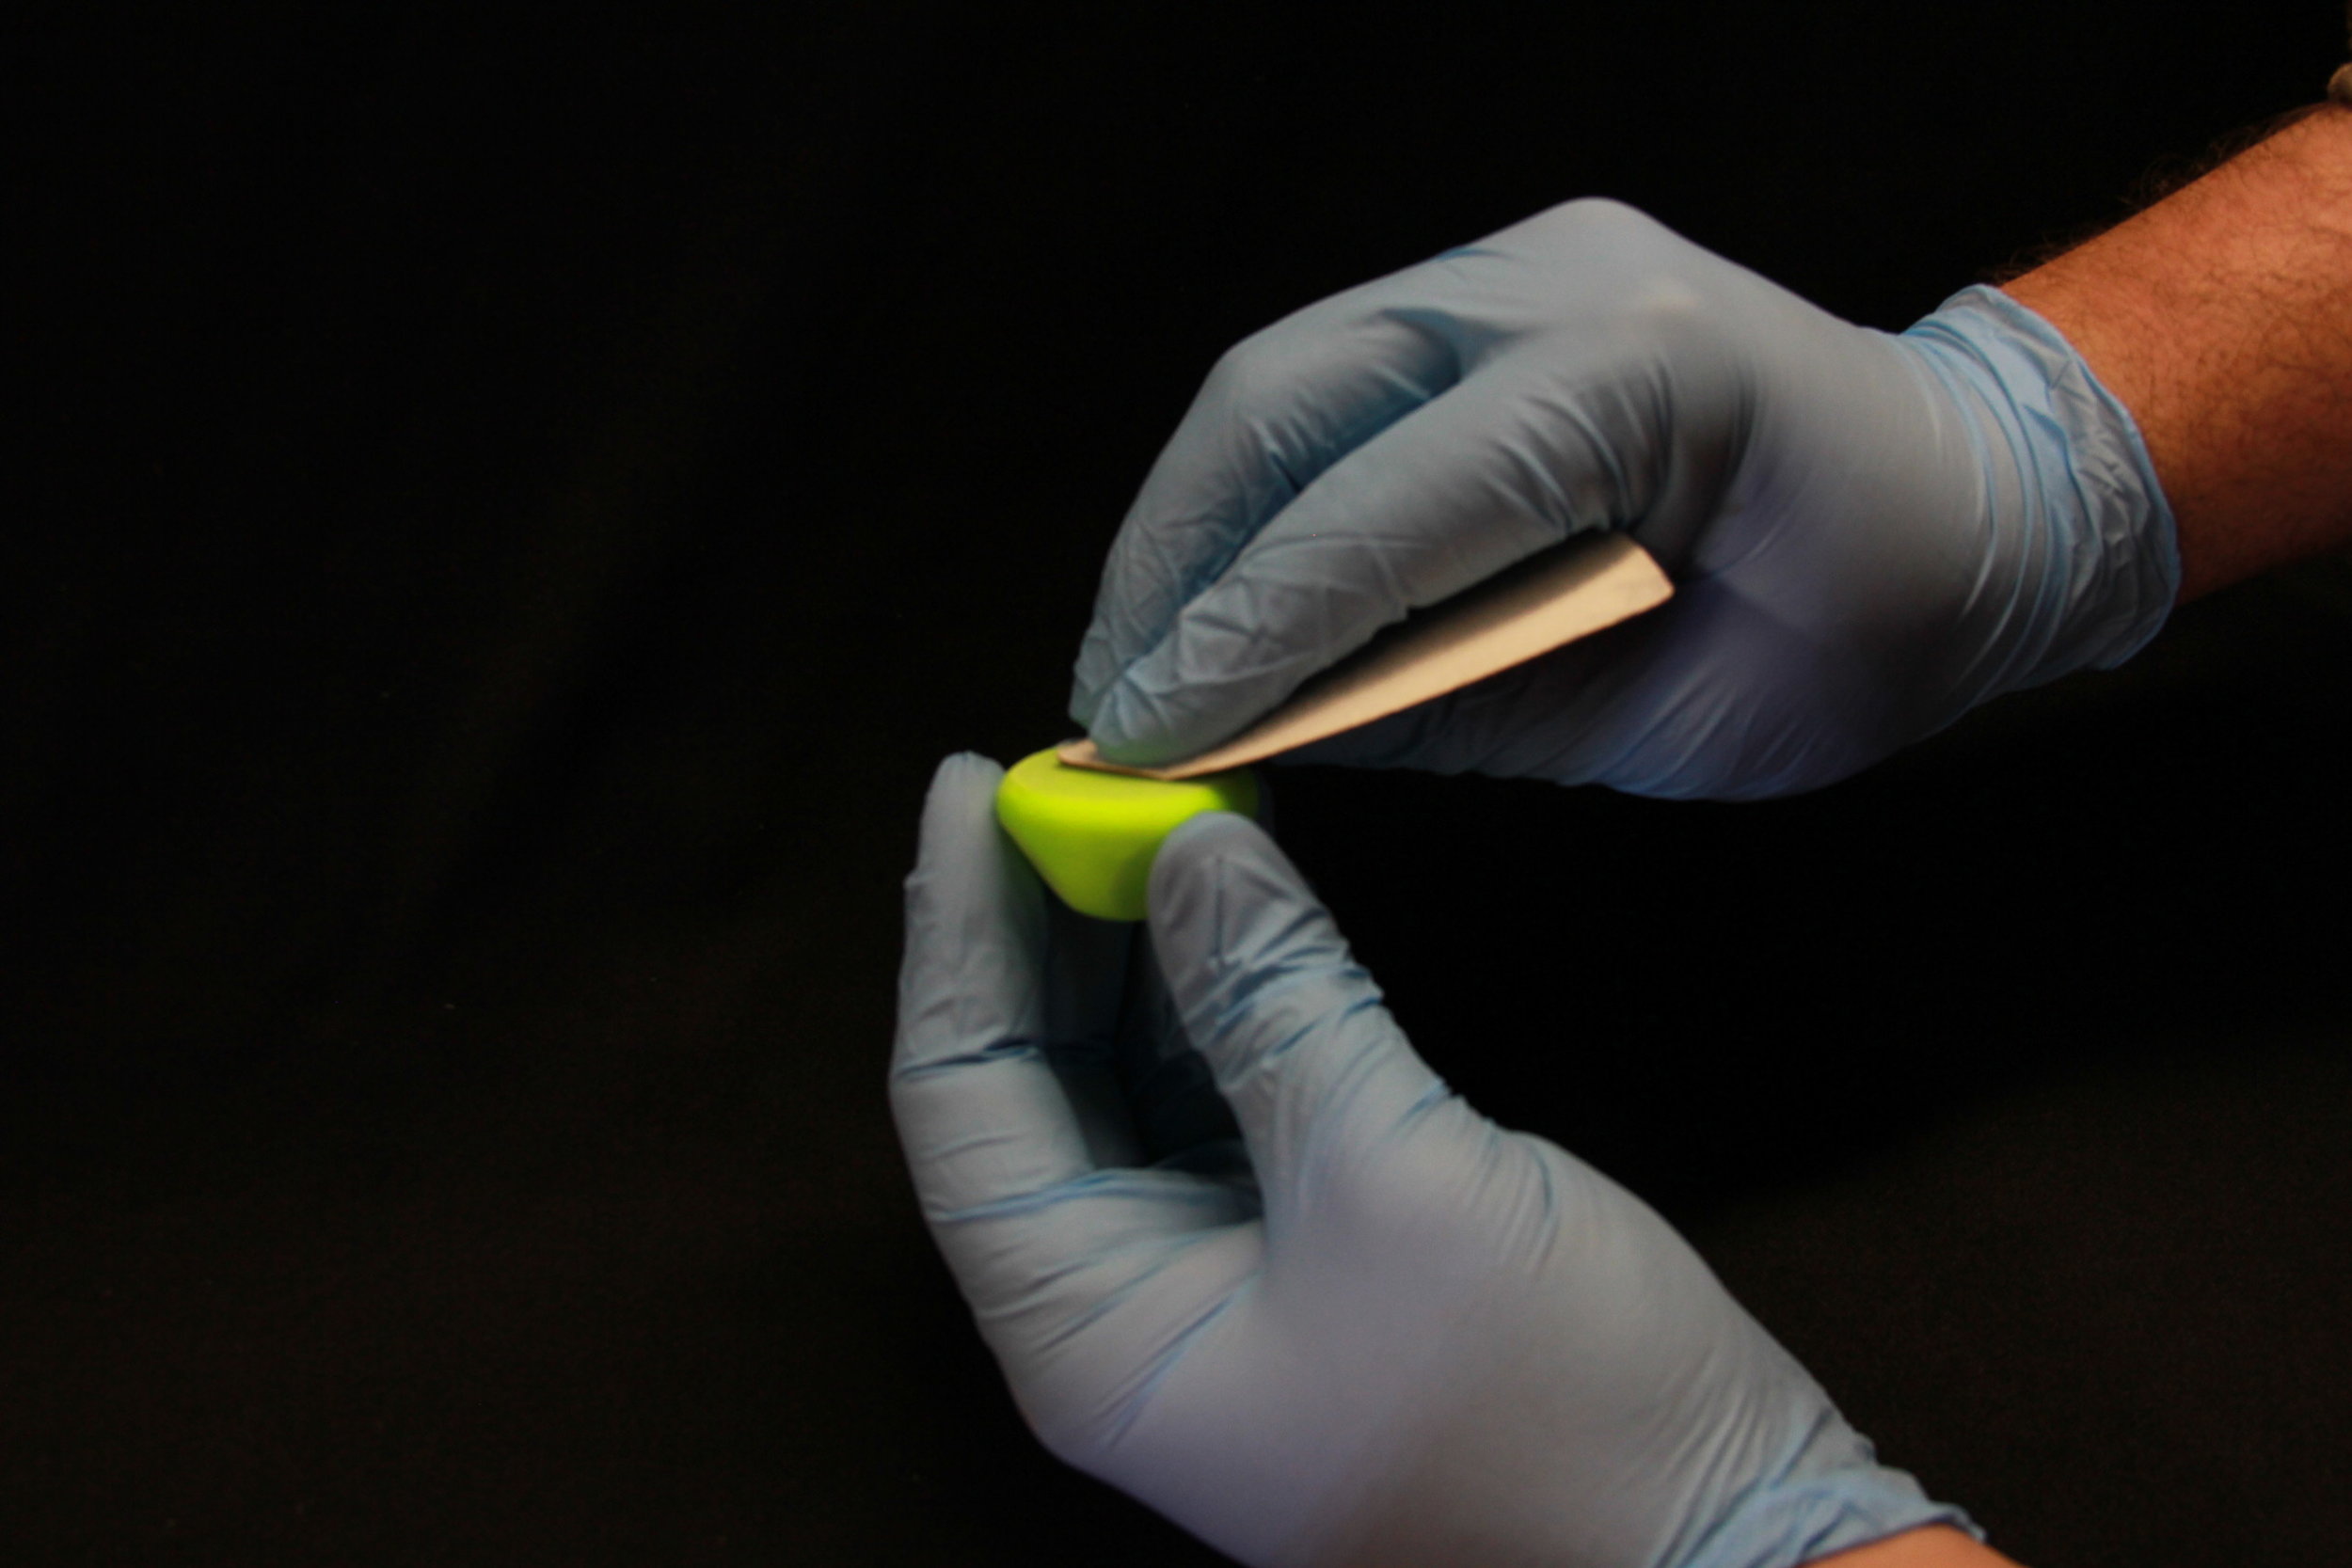
Step 5! - Sand Baby Sand!
Okay, so regardless of your smoothing method sanding will help even out your application of Gloop!
Step 5 is entirely optional honestly. We recommend it, but it's not required. Make sure before you start sanding that your application of smoothing Gloop! has completely cured. It should be rock hard! If it is not, give it more time!
If you choose to sand your print, just lightly brush the surfaces with 100 - 200 grit sand paper to help even out any uncovered layer lines, uneven Gloop!, zits, or scaring that show through.
Just as every other smoothing technique some work is going to be required... After you complete Step 5 to your liking, you can re-coat problem areas or move onto further finishing and painting!
That's all folks! Hopefully your prints come out looking freaking amazing! - Happy printing!